
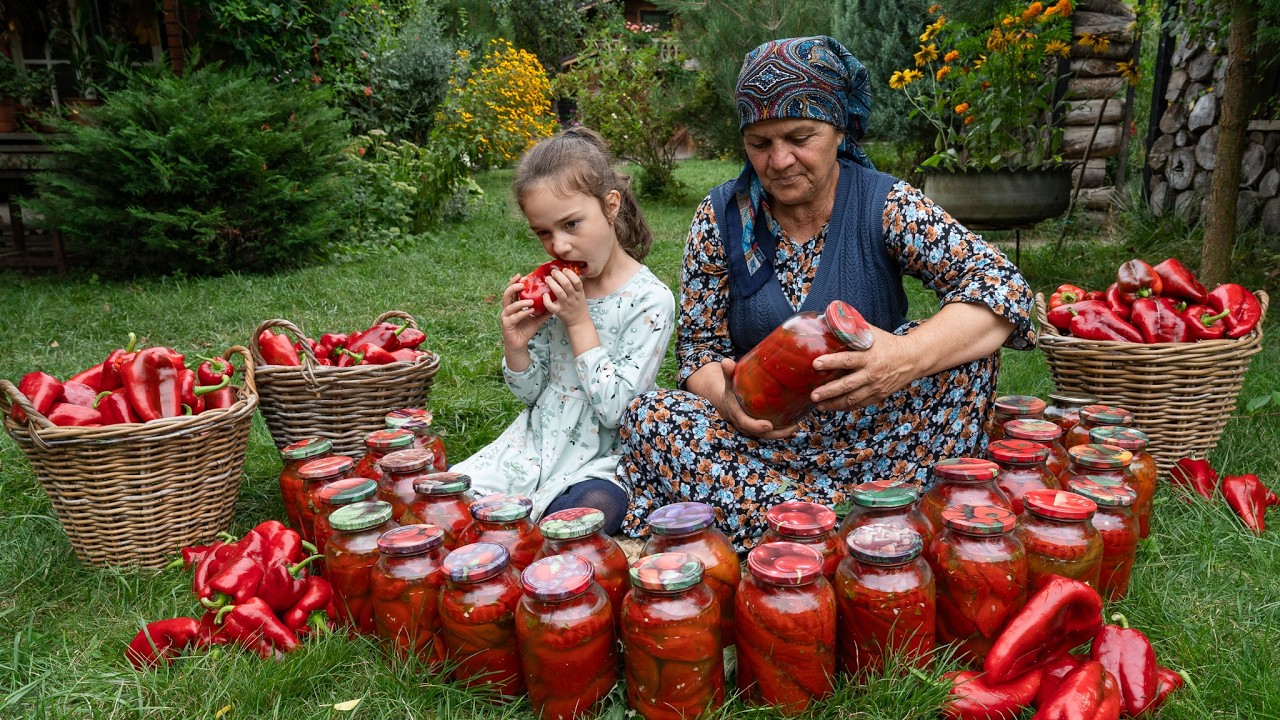

From Garden to Jar: Preserving Bell Peppers for Winter 🫙🌶️🍃
As the sun drenches the garden in hues of gold and green, the time has come to gather the vibrant bounty of summer. Fresh bell peppers, bursting with flavor and color, are among nature’s most delightful offerings. In this recipe, we honor a cherished tradition of preserving these seasonal gems, transforming them into jars of joy that will brighten the colder months ahead.
Imagine walking into your kitchen on a chilly winter evening and opening a jar filled with the sweet, tangy essence of summer. Each bite transports you back to warm days filled with sunlight and laughter. Preserving bell peppers allows you to capture that magic, creating a pantry filled with the spirit of your garden.
Ingredients:
- Fresh Bell Peppers: 5-10 large, ripe bell peppers (red, yellow, and green for variety)
- Salt: 2 tablespoons (non-iodized, for brining)
- Vinegar: 2 cups (apple cider or white vinegar)
- Water: 2 cups
- Garlic: 4 cloves (peeled and smashed)
- Herbs (optional): Bay leaves, thyme, or dill
- Olive Oil: For drizzling
- Sterilized Jars: 4-6 pint-sized jars with lids
Instructions:
-
Harvest the Peppers: Begin by selecting the most beautiful bell peppers from your garden. Look for those that are fully ripe and free of blemishes. The deeper the color, the richer the flavor!
-
Preparation: Rinse the peppers under cold water to remove any dirt. After they’ve dried, slice them into strips or quarters, discarding the seeds and stems.
-
Brine Creation: In a saucepan, combine water, vinegar, and salt. Bring the mixture to a gentle boil, ensuring the salt dissolves completely. This brine acts as a delightful preservative, enhancing the peppers’ natural taste.
-
Layering in Jars: Carefully pack the sliced peppers into each sterilized jar, leaving about an inch of space at the top. Tuck in a couple of garlic cloves and any herbs you desire for added flavor. The herbs will infuse the peppers with warmth and aroma.
-
Pouring the Brine: Once filled, pour the hot brine over the peppers till they’re completely submerged, leaving just a little space at the top. Take a butter knife and gently press down on the peppers to eliminate any air bubbles.
-
Seal the Jars: Drizzle a little olive oil to create a barrier over the brine, then secure the lids tightly.
-
Processing: Place the jars in a large pot with water and bring to a gentle boil. Allow them to process for about 10-15 minutes. This will help create a seal, ensuring your peppers remain fresh throughout the winter.
-
Cooling Down: After processing, carefully remove the jars and set them on a clean towel to cool completely. Listen for the comforting “pop” sound as the lids seal.
-
Storing: Once cooled, label your jars with the date and store them in a cool, dark place. These preserved peppers should be ready to relish for about a year.
Notes:
- Feel free to experiment with different pepper varieties for unique flavors and colors.
- This preserving method allows for other seasonal vegetables to be included – think zucchini, tomatoes, or carrots!
- Use preserved bell peppers in salads, stews, stir-fries, or as a flavorful addition to your winter cooking.
By following this traditional village method of preserving bell peppers, you are not just preparing for winter; you are celebrating the cycle of nature and keeping the essence of summer alive in every jar. As you gather around the table in the months ahead, you’ll not only nourish your body but also connect with the earth and its bountiful gifts. Enjoy your journey from garden to jar! 🫙🌶️🍃
Watch the video by Kənd Həyatı
Video “From Garden to Jar | Preserving Bell Peppers for Winter 🫙🌶️🍃” was uploaded on 08/30/2026 to Youtube Channel Kənd Həyatı