
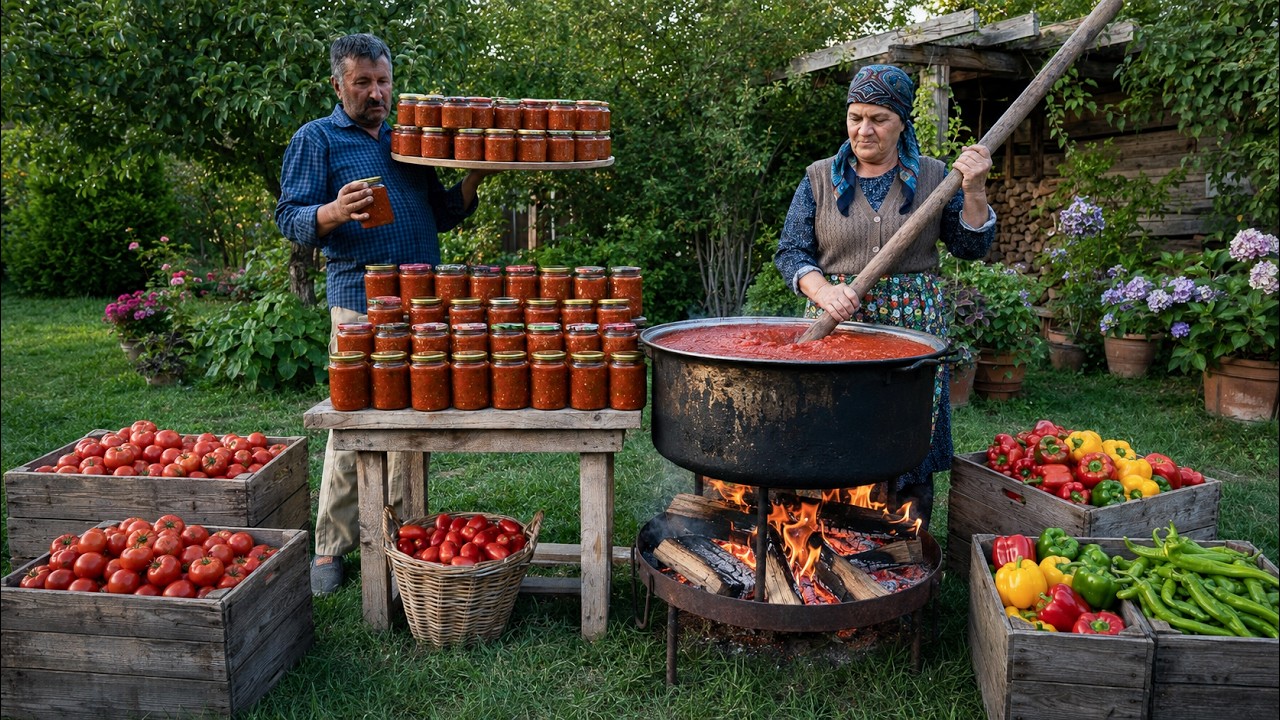

Homemade Adjika Made with Fresh Garden Vegetables 🌶️🍅
As the sun shines bright and the garden bursts with life, few things evoke the spirit of summer quite like making homemade adjika. This vibrant sauce, rich with the essence of fresh vegetables, embodies the warmth of the season and offers a delightful way to savor the harvest all year long. Let’s embark on a flavorful journey to create this traditional delight, bringing together the best from our gardens.
The Heart of Adjika
Adjika is not just a condiment; it’s a celebration of summer’s bounty. With each ingredient carefully selected from the garden, this recipe should inspire you to embrace simple, wholesome foods that elevate your dishes and nourish your soul. Let’s gather our ingredients and honor the beauty of fresh produce.
Ingredients
- 4 large ripe tomatoes: Juicy and full of sweetness.
- 3-4 fresh bell peppers: Any color will do; choose what’s ripe and ready in your garden.
- 6-8 cloves of garlic: For that aromatic kick that elevates the flavors.
- 1-2 hot peppers (optional): For those who crave a bit of heat.
- A handful of fresh herbs (such as parsley and cilantro): To infuse freshness and brightness.
- Olive oil: For richness and depth.
- Salt: To taste, enhancing all the flavors.
Instructions
-
Prep the Ingredients: Start by washing all your vegetables thoroughly. Chop the tomatoes, bell peppers, and hot peppers into chunks that your blender can handle. Peel the garlic cloves, and finely chop the herbs.
-
Blend to Perfection: In a blender or food processor, combine the tomatoes, bell peppers, garlic, and hot peppers. Blend until the mixture is smooth but still retains some texture. Taste to see if you want to adjust the heat or add more herbs.
-
Cook It Down: In a large pot, heat a generous drizzle of olive oil over medium heat. Pour in your blended mixture, and bring it to a gentle simmer. Allow the sauce to cook down for about 40-60 minutes, stirring occasionally. This is where the magic happens—the colors will deepen, and the aroma will fill your kitchen.
-
Season It Right: As your adjika develops its flavor, add salt to taste. This simple step brings everything together, enhancing the natural sweetness of the vegetables.
-
Can It or Serve It: Once your adjika has thickened and is fragrant, you can either store it in sterilized jars to enjoy later or serve it fresh alongside your favorite foods—grilled meats, crusty bread, or roasted potatoes.
Notes
- Customize Your Heat: Feel free to adjust the number of hot peppers based on your taste. Remember, it’s always easier to add heat than to take it away!
- Storage Tips: If you choose to can your adjika, ensure your jars are properly sealed for longer shelf life.
- Enjoy Throughout the Year: This sauce captures the essence of summer, allowing you to enjoy its flavors even in the heart of winter.
Embracing Tradition and Flavor
Homemade adjika stands as a testament to the beauty of simple, garden-fresh ingredients. By preserving the season’s harvest, you’re not only filling your pantry but also creating a connection to the earth and to the memories shared around the dining table. So roll up your sleeves, gather your garden treasures, and let the spicy, aromatic journey of making adjika fill your home with joy and deliciousness! 🌿🔥
Watch the video by Kənd Həyatı
Video “Homemade Adjika Made with Fresh Garden Vegetables 🌶️🍅” was uploaded on 08/12/2026 to Youtube Channel Kənd Həyatı